Where to Build Your Base in Enshrouded — Best Locations & Setup Guide
Master Enshrouded's base building system. Best base locations for every biome, flame altar placement strategy, NPC housing optimization, crafting station layout, and defense against Shroud invasions.
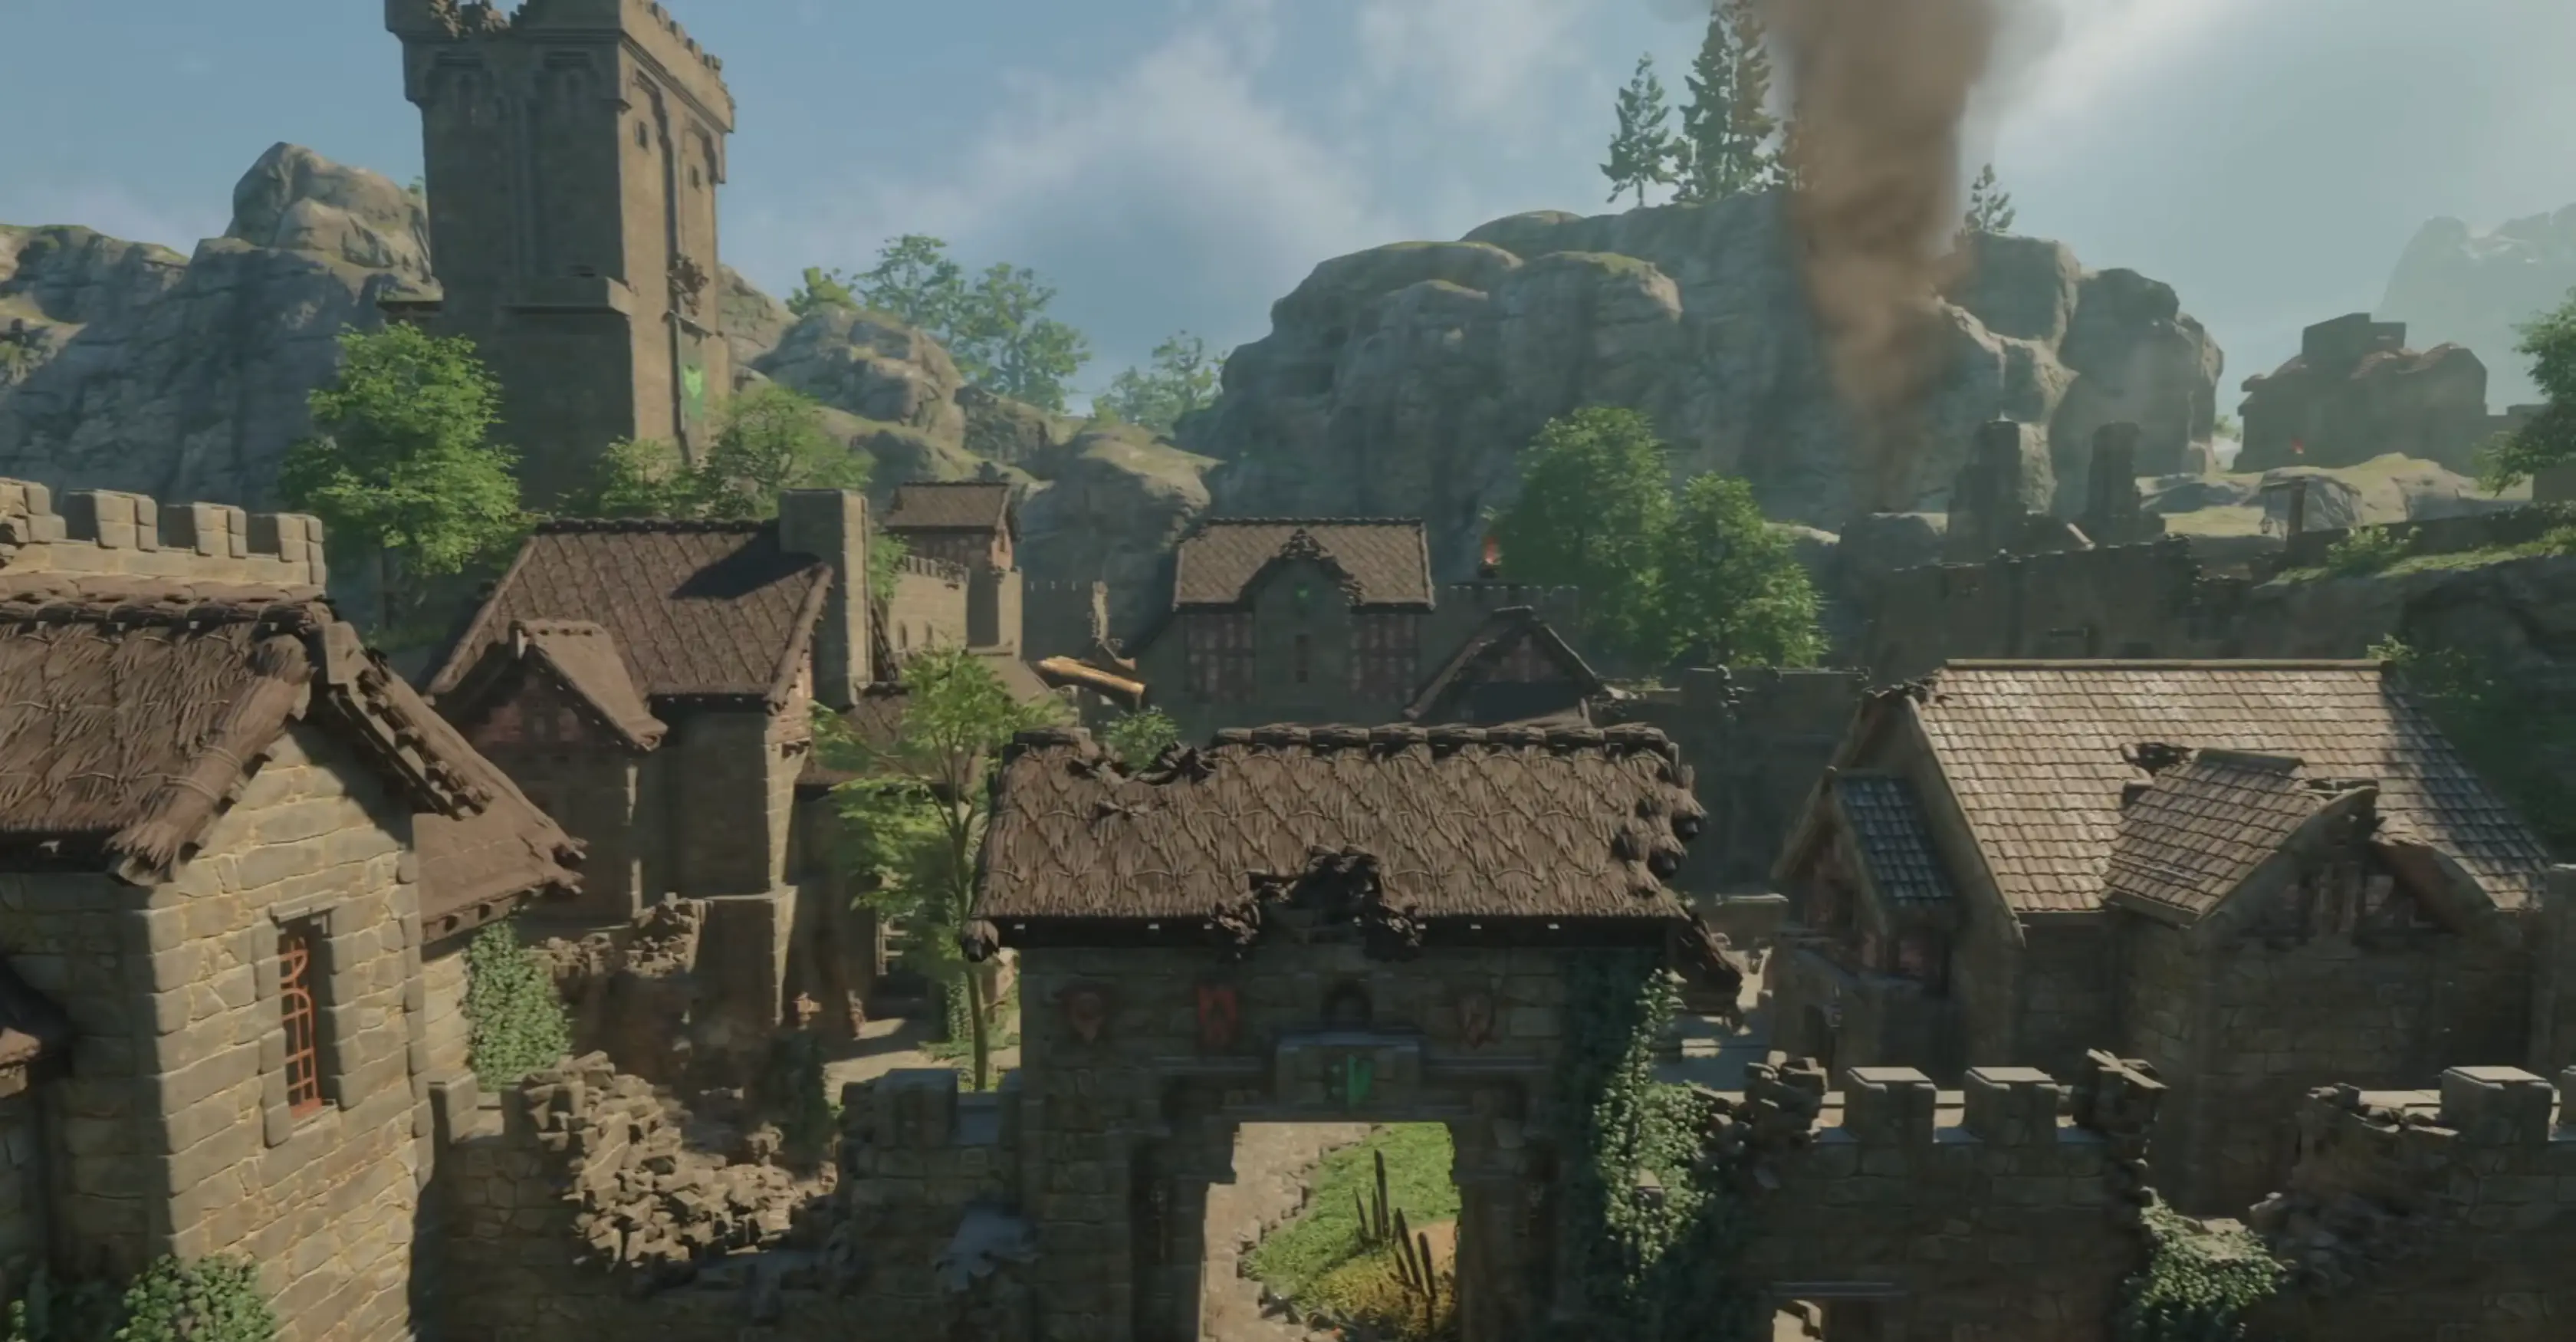
📐 Base Building Basics
The five rules every Enshrouded builder needs to know.
Enshrouded's building system is voxel-based — you place individual blocks rather than prefab structures. This gives you enormous creative freedom but also requires some understanding of how the system works.
Rule 1: Flat Ground Is Everything
The terrain in Enshrouded is not perfectly flat. Before building, use your construction hammer to flatten the ground (right-click with the terrain tool). A flat foundation prevents floating corners, misaligned walls, and structural integrity issues. Plan for a base footprint of at least 8×8 blocks for a comfortable starter base.
Rule 2: The Flame Altar Radius Is Your Build Zone
Your Flame Altar projects a buildable zone (starting at 40×40 blocks, expandable with upgrades). You can only build within this zone. The altar itself must be placed outside Shroud zones — it will not function inside the Shroud. Always scout a location on the map first to confirm it's Shroud-free.
Rule 3: Roof First, Walls Second
Structures in Enshrouded have structural integrity. Walls support roofs, but roofs also need support from below. Build your foundation → place walls → add roof → then fill interior walls. A collapsed roof means rebuilding from scratch. Use pillars or support beams for spans wider than 6 blocks.
Rule 4: Doors Face Outward
Simple but easy to forget. Doors snap to the outside face of walls. If you build a wall and can't place a door, you're looking at the inside of the wall. Rotate the wall piece or approach from the other side.
Rule 5: Comfort Matters
NPCs and players benefit from comfort — a hidden stat affected by lighting, furniture, room size, and decoration. Higher comfort = faster NPC crafting speed and better rested bonuses for players. Place torches, beds, chairs, and decorations in every room. The Comfort buff caps at 30 minutes of rested XP bonus.
📍 Best Base Locations by Biome
Where to build in each biome — with pros, cons, and resource access.
| Biome | Best Spot | Pros | Cons | Key Resources |
|---|---|---|---|---|
| Springlands | Plateau east of Cinder Vault | Shroud-free, flat, central, safe | Outgrown by level 15 | Wood, Stone, Copper, Linen |
| Revelwoods | Cliff overlooking Lake Revel | Stunning views, near mid-game NPCs, abundant wood | Shroud pockets nearby, flying enemies | Hardwood, Iron, Leather, Shroud Cores |
| Nomad Highlands | Mesa top — west side | Naturally defensible (cliffs on 3 sides), rich ore veins | Requires Glider to access, far from starter area | Steel, Obsidian, Rare gems |
| Kindlewastes | Oasis near central ruins | Water source, near endgame boss, unique materials | Extreme temperatures, hostile creatures | Dragon materials, Shroud-infused ore |
| Shroud Border | Any elevated cliff touching Shroud | Fast Shroud access for farming, unique view | Shroud timer, periodic invasions | Shroud Cores, Shroud Wood, Runes |
🔥 Flame Altar Guide
The Flame Altar is the heart of your base. Upgrade it or get locked out of progression.
| Level | Unlocks | Build Radius | Materials Required |
|---|---|---|---|
| 1 | Basic building, Workbench, Shelter | 40×40 | None (starting) |
| 2 | Blacksmith NPC, Copper crafting, Glider | 60×60 | Stone × 20, Wood × 30, Resin × 5 |
| 3 | Hunter + Alchemist NPCs, Iron crafting, Grappling Hook | 80×80 | Copper Bars × 10, Shroud Cores × 3, Linen × 8 |
| 4 | Carpenter NPC, Steel crafting, Advanced structures | 100×100 | Iron Bars × 15, Hardened Leather × 5, Obsidian × 5 |
| 5 | All NPCs, Legendary crafting, Max Shroud access | 120×120 | Steel Bars × 20, Dragon Scale × 3, Shroud-Infused Ore × 5 |
Each Flame Altar upgrade also increases your Shroud timer — how long you can survive in Shroud zones before taking damage. At level 1 you have about 3 minutes. At level 5, you have over 10 minutes. This gates which Shroud areas you can explore, so upgrading the altar is mandatory for progression — not optional.
👥 NPC Housing & Placement
Rescued NPCs live at your base and provide crafting services. Where you put them matters.
All Rescuable NPCs
| NPC | Unlocks At | Provides | Best Room Placement |
|---|---|---|---|
| Blacksmith | Early Springlands | Weapon crafting, armor crafting, tool upgrades | Ground floor, near storage — most-used NPC |
| Hunter | Springlands (east) | Ranged weapons, ammo, leather processing | Near Blacksmith, shared storage access |
| Alchemist | Revelwoods | Potions, Shroud resistance items, magic crafting | Separate room (alchemy station produces fumes) |
| Carpenter | Revelwoods (south) | Advanced building pieces, furniture, decorations | Upper floor — mainly visited for building sessions |
| Farmer | Nomad Highlands | Seeds, farming plots, food processing | Near outdoor farm area, separate from crafting |
| Collector | Kindlewastes | Rare material trading, legendary crafting | Secure room — Collector holds valuable items |
NPC Housing Rules
- Each NPC needs a roofed room with at least a bed and a light source. No roof = NPC won't move in.
- Place crafting stations in the same room as the NPC who uses them. The Blacksmith's forge should be in the Blacksmith's room. This isn't required for function but dramatically reduces walking time.
- NPCs wander during the day and sleep at night. Build walls around their rooms if you don't want them wandering into dangerous areas.
- Comfort level in an NPC's room affects crafting speed. A fully decorated room (bed, chair, table, torch, rug) gives a 15% crafting speed bonus.
⚙️ Crafting Station Layout
An efficient crafting layout saves hours of walking back and forth.
The "Workshop Floor" Layout
The most efficient layout clusters all crafting stations on a single large floor (10×10 minimum), with shared storage at the center:
- Center: 6-8 Storage Chests (organized by material type: Wood/Stone, Metal, Cloth/Leather, Monster Parts, Food/Plants, Valuables)
- North wall: Blacksmith's Forge + Anvil + Armor Bench
- East wall: Hunter's Tanning Rack + Fletcher's Bench
- West wall: Alchemist's Table + Brewing Station
- South wall: Carpenter's Bench + Workbench
This layout means you craft while standing near the center chests — you can grab materials from any station without walking more than 5 blocks. Label your chests with signs (crafted at the Carpenter) to avoid the "which chest has my iron?" problem.
🏭 Building a Mill
The Mill is a specialized crafting station that processes raw grains, herbs, and minerals into refined materials. It's one of the most important mid-game structures for potion-making and高级 cooking. The Mill saw a 1,000% spike in search interest with the 2026 update — here's what you need to know.
- Unlock: Mill recipe unlocked at the Carpenter after reaching Flame Altar Level 3.
- Construction cost: 15 Stone, 10 Wood Logs, 5 Iron Bars. Place within your Flame Altar zone on flat ground.
- What it processes: Wheat → Flour (cooking), Herbs → Ground Herbs (alchemy), Bone → Bone Meal (farming fertilizer), Stone → Gravel (construction material).
- Efficiency tip: Place the Mill next to the Alchemist's station and cooking fire — most Mill outputs feed directly into potion and food recipes. Grouping these three stations creates a production chain that saves significant walking time.
- Water requirement: Some Mill recipes (especially grain processing) now require water as an input after the 2026 water update. Build a Water Well nearby for a reliable supply.
🛡️ Base Defense
Enemies can attack your base. Here's how to keep it safe.
What Attacks Your Base?
Three types of threats target player bases:
- Shroud Invasions — Periodic events where Shroud enemies spawn near your Flame Altar. Triggered by raising the Flame Altar level. Higher level = tougher invasions.
- Wandering Enemies — Creatures that roam near your base and may aggro on NPCs or structures.
- Boss Proximity — Building too close to a boss arena can draw aggro. The Fell Warden will attack your base if you build within 200 blocks of its spawn.
Defense Strategies
Natural barriers are best. Build on a mesa, cliff, or island to limit enemy approach directions. A base with only one accessible side is a base that's easy to defend.
Walls work. A 2-block-high stone wall around your perimeter stops most ground enemies. Add a gate (Carpenter crafting) for your entrance. Don't use wood walls — Shroud enemies break them in 3-4 hits.
Light keeps Shroud away. Place torches around your perimeter. Shroud enemies take damage from light sources and will avoid well-lit areas. This doesn't stop invasions but reduces random Shroud creature spawns near your base.
🌐 Multi-Base Strategy
You can have up to 3 active Flame Altars. Use them strategically.
Recommended 3-Base Setup
| Base # | Location | Purpose |
|---|---|---|
| 1 — Main | Revelwoods cliff | All NPCs, full crafting, storage hub, decorative build |
| 2 — Mining | Nomad Highlands mesa | Ore farming, smelting furnaces, minimal NPCs, functional only |
| 3 — Forward | Near current objective | Temporary Flame Altar near a boss arena or new biome. Deconstruct when done, move to next objective. |
The forward base (Base #3) is the most underutilized strategy. Place a temporary Flame Altar 100-200 blocks from a boss arena. Build a bed, a chest, and a crafting station. Now when you die to the boss, you respawn 30 seconds away instead of 5 minutes. After beating the boss, deconstruct the altar (you get materials back) and relocate.
📌 Key Takeaways
🟢 Renovate, Don't Build
Existing structures (Longkeep, Fort Kelvin, Blue Goblet Inn) give you walls, roofs, and wells for free. Much faster than building from scratch.
🟢 Multiple Altars = Multiple Bases
You can place up to 10 Flame Altars. Use them: 1 main base, 2-3 biome outposts, 2-3 checkpoint altars in dangerous zones.
🟢 Comfort = Rested Buff Duration
Each unique furniture piece adds 1 minute to your Rested buff. A well-decorated base gives over an hour of stamina regen bonus.
📖 Related Guides
🧑🔧 NPC Unlock Guide 💧 Water & Farming 🖥️ Server Setup 🗺️ Map & Locations
📝 Changelog
- 2026-07-18 — Quick Answer with best locations by playstyle added. FAQPage schema. Fort Kelvin image added.
- 2026-07-10 — Initial base building guide. Locations, NPC housing, defense tips.
Sources & References
- Keen Games Official — Building system documentation
- r/Enshrouded — Community base showcases and building tips
- In-game testing across all 5 biomes on the latest 2026 patch.
Was this guide helpful?